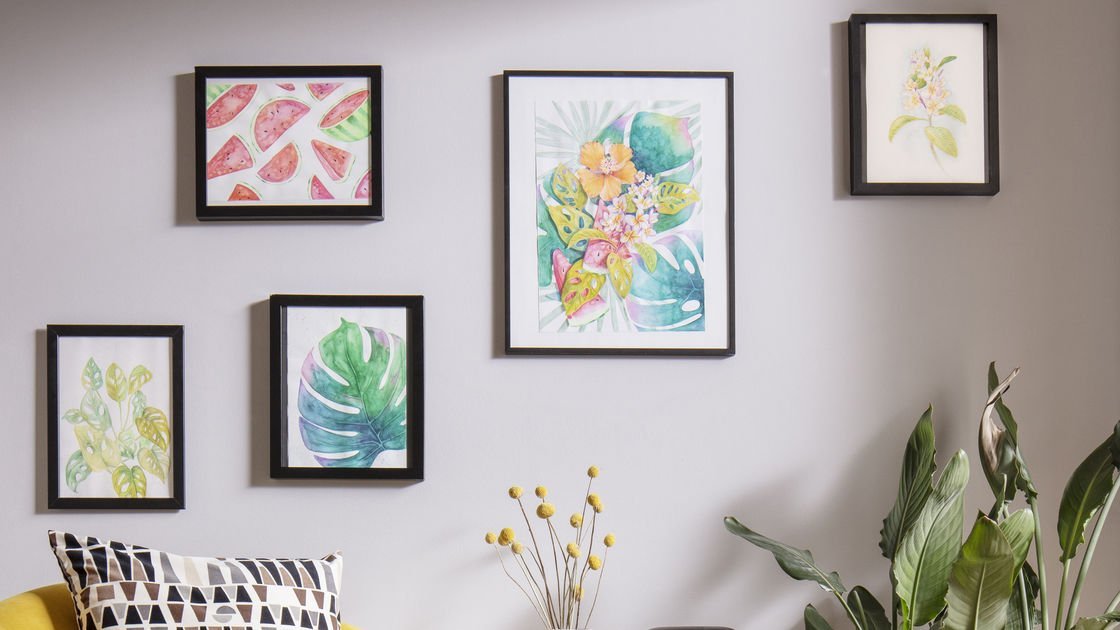
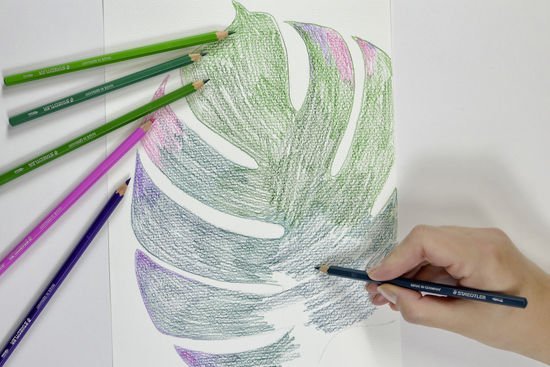
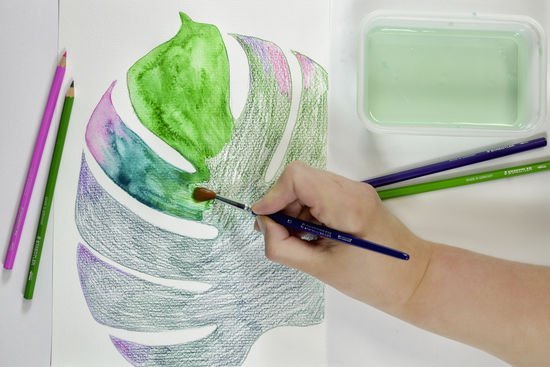
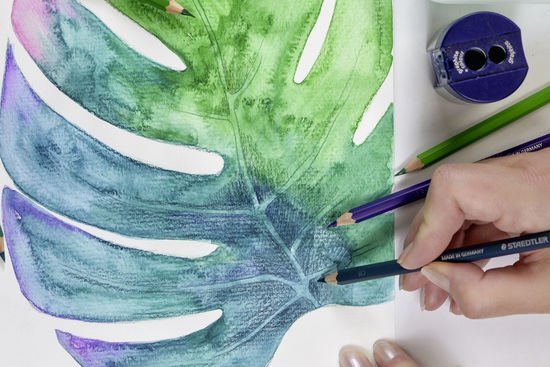
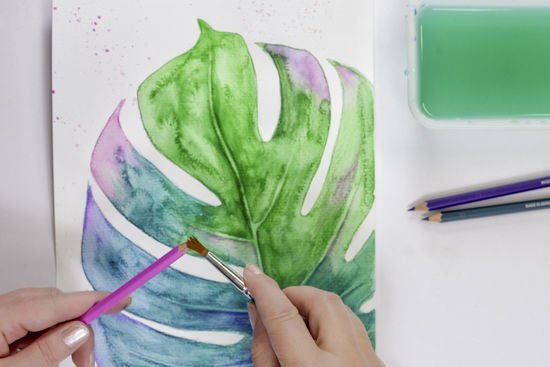
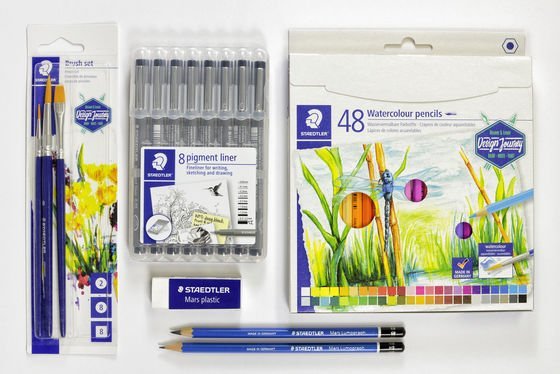
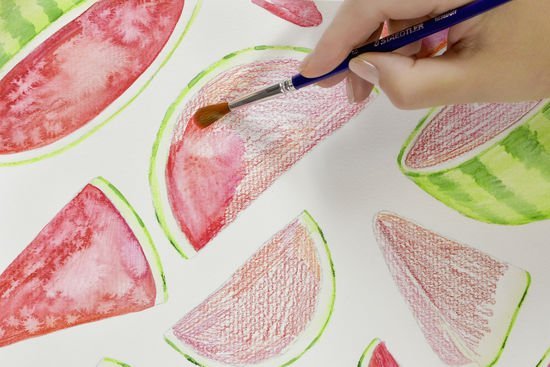
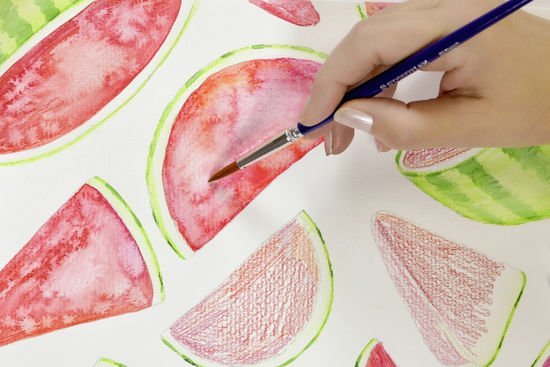
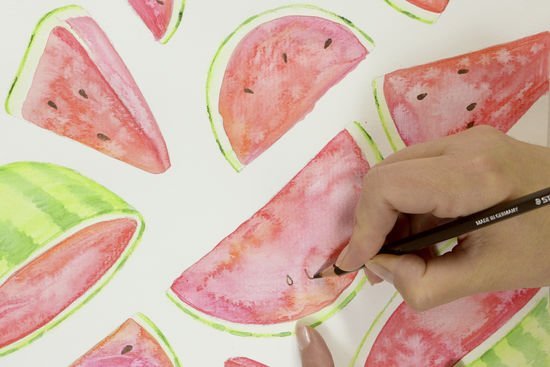
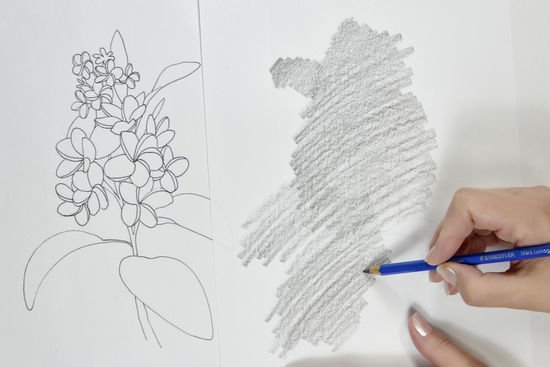
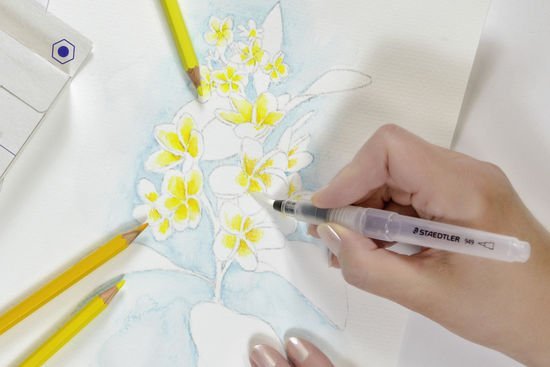
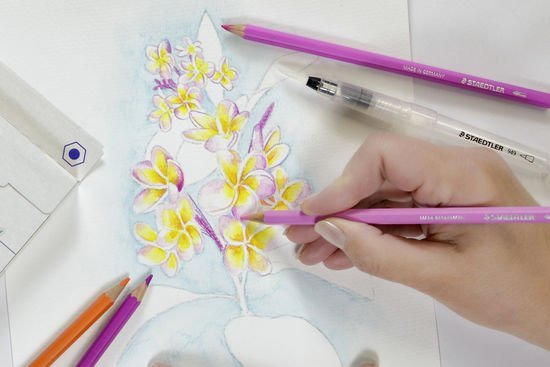
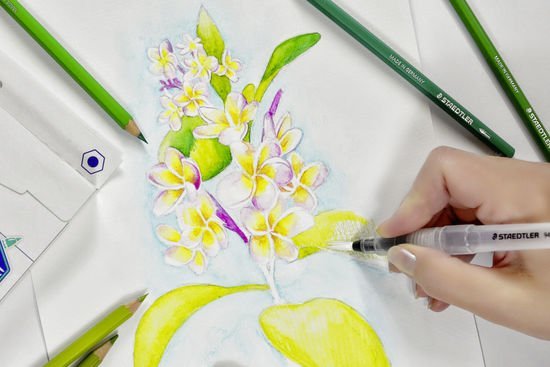
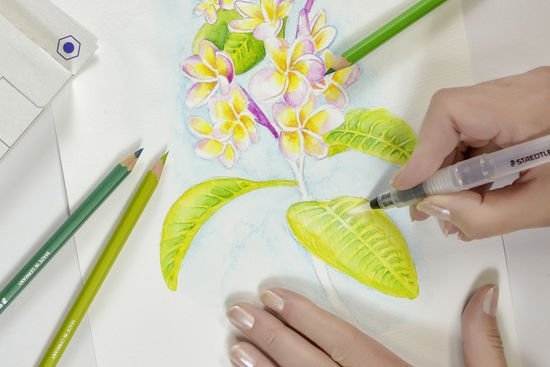
Colouring

Tropical watercolour drawings

Tropical motifs bring colour into your home!
Create a full picture wall with watercolour paintings in different sizes and with different motifs. Bright colours bring good vibes and a summer feeling to your home.

Monstera

Step-by-step tutorial

Print out the Monstera motif. Use a soft pencil (Mars Lumograph, B6) to evenly shade the back of the template motif.

Download template


Precisely place the template (with the front facing up) on the watercolour paper. Then trace the outline using a sharp pencil (HB). This transfers the motif to the paper.

Before removing the template, lift up one corner to check that all the lines have been transferred.

Shade some of the leaf tips with the light purple watercolour pencil. Colour the rest of the leaf shape in medium and dark green. Now cross-hatch the colours over one another at the transitions.


Blend the colours into one another using plenty of water and a brush. Start with the purple leaf tips and work towards the middle of the leaf.


Work from left to right and from top to bottom. This will help you avoid smudging the parts you have already painted with your hand. Leave everything to dry.

Draw two parallel lines down the middle for the leaf veins. Now draw more double lines coming from this double line to the individual leaf tips.

Make the leaf a little darker on the outer edge of the double lines.

If you want, you can now also easily blend in the lines with water and a brush.


To liven up the picture, give the background a few splashes of colour.

To do this, hold the pencil approx. 10 cm above the paper and sweep the wet brush (downwards) over the lines. Use colours that are in your picture.

Let everything dry fully.

Material overview

Watermelon

Step-by-step tutorial

Print out the watermelon motif. Use a soft pencil (Mars Lumograph, B6) to evenly shade the back of the template motif.

Download template


Precisely place the template (with the front facing up) on the watercolour paper. Then trace the outline using a sharp pencil (HB). This transfers the motif to the paper.

Before removing the template, lift up one corner to check that all the lines have been transferred.

Shade some of the leaf tips with the light purple watercolour pencil. Colour the rest of the leaf shape in medium and dark green. Now cross-hatch the colours over one another at the transitions.


Blend the colours into one another using plenty of water and a brush. Start with the purple leaf tips and work towards the middle of the leaf.


Work from left to right and from top to bottom. This will help you avoid smudging the parts you have already painted with your hand. Leave everything to dry.

Draw two parallel lines down the middle for the leaf veins. Now draw more double lines coming from this double line to the individual leaf tips.

Make the leaf a little darker on the outer edge of the double lines.

If you want, you can now also easily blend in the lines with water and a brush.


To liven up the picture, give the background a few splashes of colour.

To do this, hold the pencil approx. 10 cm above the paper and sweep the wet brush (downwards) over the lines. Use colours that are in your picture.

Let everything dry fully.

Material overview

Frangipani

Step-by-step tutorial

Print out the motif with the frangipani flower.

Download template

Use a soft pencil (Mars Lumograph, B6) to evenly shade the back of the template motif.

Precisely place the template (with the front facing up) on the watercolour paper. Then trace the outline using a sharp pencil (HB). This transfers the motif to the paper.

Before removing the template, lift up one corner to check that all the lines have been transferred.

Colour the background close to the flower light blue. Blend the colours using plenty of water and a brush. Now blend the colours on the outside and let them dry.

Colour the centre of the flowers in different shades of yellow, followed by orange and red tones.

Outline the edges of the petals with rose and pink. Create shadows using violet.

Colour the leaves a yellow-green and now carefully blend everything with the wet brush.

After it has dried, draw a double line for the middle leaf vein with a dark green pen.

Now blend this line as well, again using water.

Draw more lines from this line to the tips of the leaves and shade the spaces in between darker.

Now colour the stems in a brown shade. Add accents and shadows with a darker shade. Blend this with water as well.

Then let everything dry fully.

Material overview

Tropical Mix Poster

For the large mixed motif, combine the different template elements as you like and according to your mood.

Download all templates

Start with the floral elements in the foreground of the picture and work your way to the background of the picture. You should also start with the front motifs when designing the image.

The leaves at the back are coloured last with the watercolour pencils only, and are not watercoloured. This gives the picture greater depth.

No time right now?

Save this article as PDF!

اترك تعليقاً

لن يتم نشر عنوان بريدك الإلكتروني. الحقول الإلزامية مشار إليها بـ *